Setting up audio levels for recording fitness videos with a radio microphone and a mixer involves several steps to ensure clear and balanced sound. Here’s a step-by-step guide:
Materials Needed:
Radio microphone
Mixer
Headphones
Fitness video recording equipment (camera, tripod, etc.)
Step 1: Positioning the Microphone
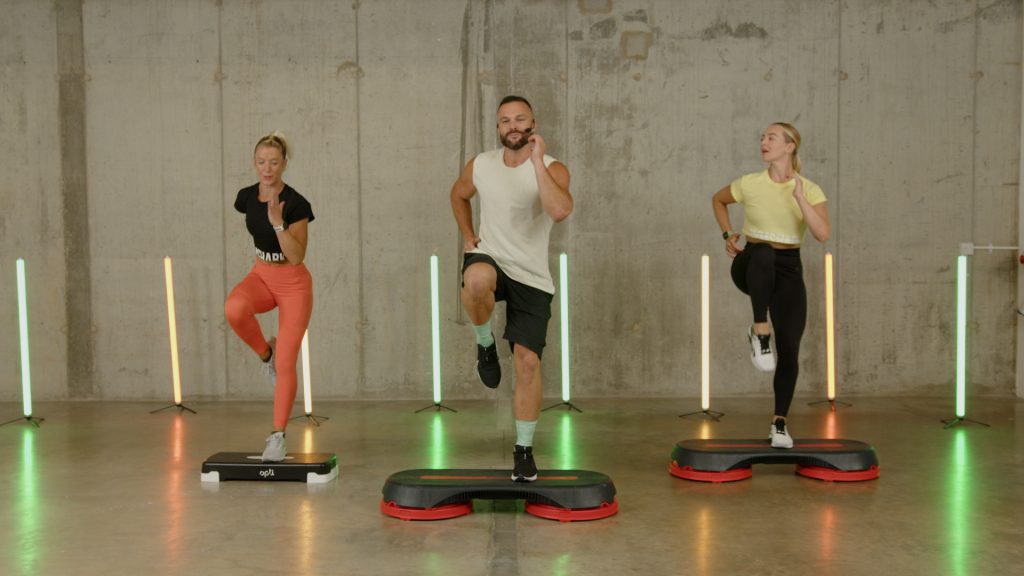
Attach the radio microphone securely to the fitness instructor. It should be positioned close to the mouth, ideally around 4-6 inches away, and slightly off to the side to minimize plosive sounds.
Step 2: Connecting the Microphone to the Mixer
Plug the receiver of the radio microphone into one of the available input channels on the mixer. Ensure that the input is compatible with the output of the receiver (usually a 1/4″ or XLR cable).
Step 3: Setting Mixer Levels
Turn on the mixer and set all channel faders to their lowest position (usually all the way down).
Set all EQ knobs (if available) to their default or flat position (usually at the 12 o’clock position).
Turn the gain knob on the microphone channel to its lowest setting.
Enable phantom power if you’re using a condenser microphone that requires it.
Step 4: Monitoring with Headphones
Connect a pair of headphones to the mixer’s headphone output. This will allow you to monitor the audio in real-time.
Step 5: Turning On the Microphone and Receiver
Turn on the microphone and receiver. Follow the manufacturer’s instructions for this step, as different models may have specific power settings.
Step 6: Adjusting the Gain
Have the fitness instructor speak or make noise into the microphone at a normal level.
Gradually increase the gain knob on the mixer channel until the audio levels on the mixer’s meters are consistently hitting between -12dB and -6dB. This provides enough headroom to prevent distortion.
Step 7: Checking for Clipping
Ask the instructor to speak loudly or make a loud noise. Watch the mixer’s meters. If they consistently hit the red or “clip” zone, reduce the gain slightly until they stay in the safe range.
Step 8: Fine-tuning EQ (if necessary)
Listen to the microphone’s output through the headphones. Adjust the EQ knobs to optimize the sound for the instructor’s voice. For fitness videos, you’ll likely want to emphasize midrange frequencies for clarity.
Step 9: Testing Movement
Have the instructor move around as they would during the fitness video. This helps ensure that the microphone captures consistent sound levels, regardless of motion.
Step 10: Monitor Continuously
Throughout the recording, keep an eye on the mixer’s meters to ensure that the levels remain in the safe range. Make adjustments if needed.
Step 11: Recording
Start recording with your video equipment while monitoring the audio levels on the mixer. Keep an eye on the levels throughout the recording process.
Step 12: Save and Review
After recording, save the audio and video files. Review them to ensure that the audio levels are consistent and clear throughout the fitness video.
By following these steps, you should be able to set up your radio microphone and mixer for recording fitness videos with optimal audio quality. Remember to test the setup before the actual recording to address any issues beforehand.

